


(This is a post from the old forum. I'm xferring all my old posts here)
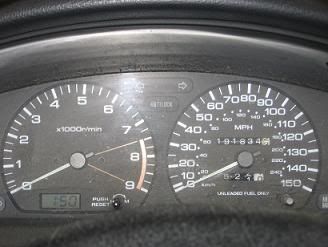
I've decided that the white-on-black gauges are getting trite and so it's time to change things up a bit. I did this a long time ago with a Laser that I had when I was living in TN. The difference then to now is that I now have a SPARE gauge cluster instead of just the one that's in the car. That helps out a bunch. I don't have to get everything done in one night. I would have done things a lot differently if this weren't an experiment. Well, Here's what I did. The original cluster came from my old black NX. It had 199845 miles on it when I totalled it. I was hoping to make it to 200 before I got the other one. Oh, well.
http://i49.photobucket.com/albums/f254/badandydakow/gauges.jpg
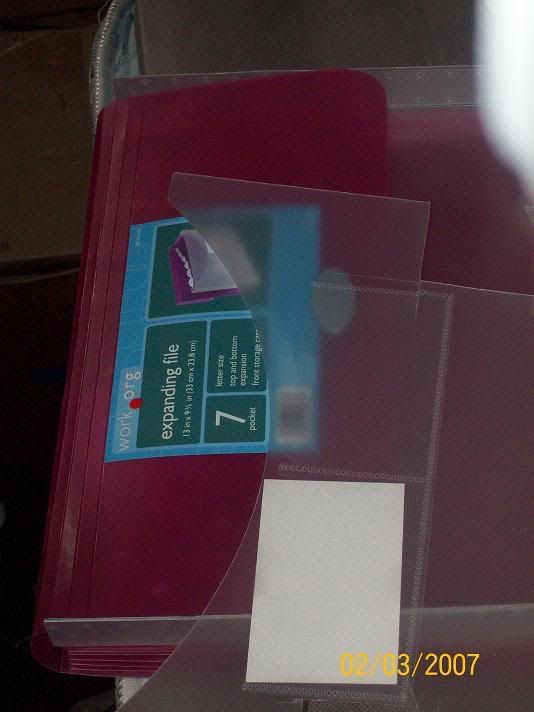
Disassembly is easy. Everyone who's done it can attest to that. The most difficult part in getting it apart is taking the needles off of the pins in an old gauge cluster. The pins tend to come out of the motors with the needles. I didn't want to completely destroy the original faces because I want to keep a template, so I decided to make my own faces completely. I used an expensive space-age plastic sourced from a surplus of filing equipment....
http://i49.photobucket.com/albums/f254/badandydakow/donorplastic1.jpg
I love being cheap. Anyway, I really like the blue text and numbers on Volkswagon guages as well as the red needles. So, as a backing for the guage faces, I found some deep blue transparent plastic to super-glue to the back of the clear gauges.
http://i49.photobucket.com/albums/f254/badandydakow/backlightcolor1.jpg
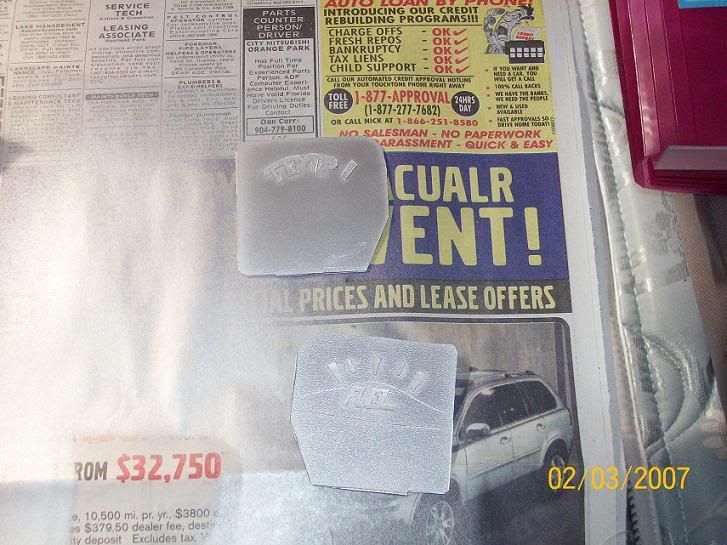
When I painted the front of the faces, I used paper labels as masking tape/stencils. When I do this in the future, I will use vynyl cut on a plotter so that it will look much better. As I said before, this is only an experiment. I want to see how it looks in the dash before I start investing serious time and money into this. All the numbers and dashes (stencils) were cut by hand with a utility knife (cheaper than an exacto knife)
http://i49.photobucket.com/albums/f254/badandydakow/tempandfuel1.jpg
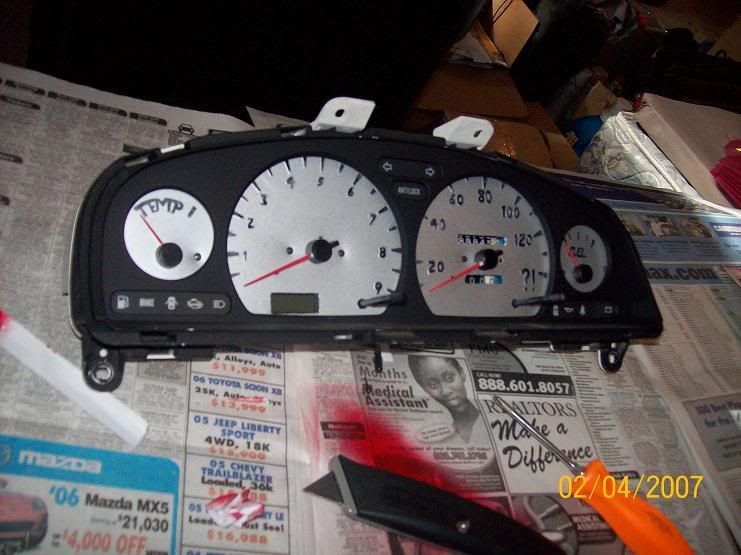
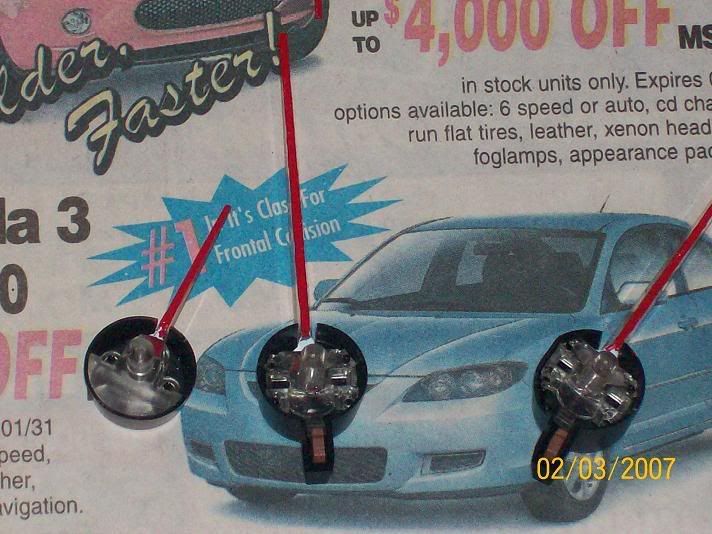
What do you think of silver faces? I like them in the spec-V so I thought I'd combine a little bit of that nissan flavor to my Volkswagon coloring and see how the mixture works. Here, by the way, are the red needles. I just shaved the white paint off of the back side of the needles and painted red where the white was. It worked surprisingly well!
http://i49.photobucket.com/albums/f254/badandydakow/guagehands1.jpg
I'll post again when I get everything installed in the cluster. The speedo and tach are drying now.
Here's what they look like (amateurish). I'll do a writeup on the real deal when I finish it. Remember, this was just to see if the color scheme worked together and to test some theories.
I've decided that the white-on-black gauges are getting trite and so it's time to change things up a bit. I did this a long time ago with a Laser that I had when I was living in TN. The difference then to now is that I now have a SPARE gauge cluster instead of just the one that's in the car. That helps out a bunch. I don't have to get everything done in one night. I would have done things a lot differently if this weren't an experiment. Well, Here's what I did. The original cluster came from my old black NX. It had 199845 miles on it when I totalled it. I was hoping to make it to 200 before I got the other one. Oh, well.
http://i49.photobucket.com/albums/f254/badandydakow/gauges.jpg
Disassembly is easy. Everyone who's done it can attest to that. The most difficult part in getting it apart is taking the needles off of the pins in an old gauge cluster. The pins tend to come out of the motors with the needles. I didn't want to completely destroy the original faces because I want to keep a template, so I decided to make my own faces completely. I used an expensive space-age plastic sourced from a surplus of filing equipment....
http://i49.photobucket.com/albums/f254/badandydakow/donorplastic1.jpg
I love being cheap. Anyway, I really like the blue text and numbers on Volkswagon guages as well as the red needles. So, as a backing for the guage faces, I found some deep blue transparent plastic to super-glue to the back of the clear gauges.
http://i49.photobucket.com/albums/f254/badandydakow/backlightcolor1.jpg
When I painted the front of the faces, I used paper labels as masking tape/stencils. When I do this in the future, I will use vynyl cut on a plotter so that it will look much better. As I said before, this is only an experiment. I want to see how it looks in the dash before I start investing serious time and money into this. All the numbers and dashes (stencils) were cut by hand with a utility knife (cheaper than an exacto knife)
http://i49.photobucket.com/albums/f254/badandydakow/tempandfuel1.jpg
What do you think of silver faces? I like them in the spec-V so I thought I'd combine a little bit of that nissan flavor to my Volkswagon coloring and see how the mixture works. Here, by the way, are the red needles. I just shaved the white paint off of the back side of the needles and painted red where the white was. It worked surprisingly well!
http://i49.photobucket.com/albums/f254/badandydakow/guagehands1.jpg
I'll post again when I get everything installed in the cluster. The speedo and tach are drying now.
Here's what they look like (amateurish). I'll do a writeup on the real deal when I finish it. Remember, this was just to see if the color scheme worked together and to test some theories.
 Be the first to like this post.


")

