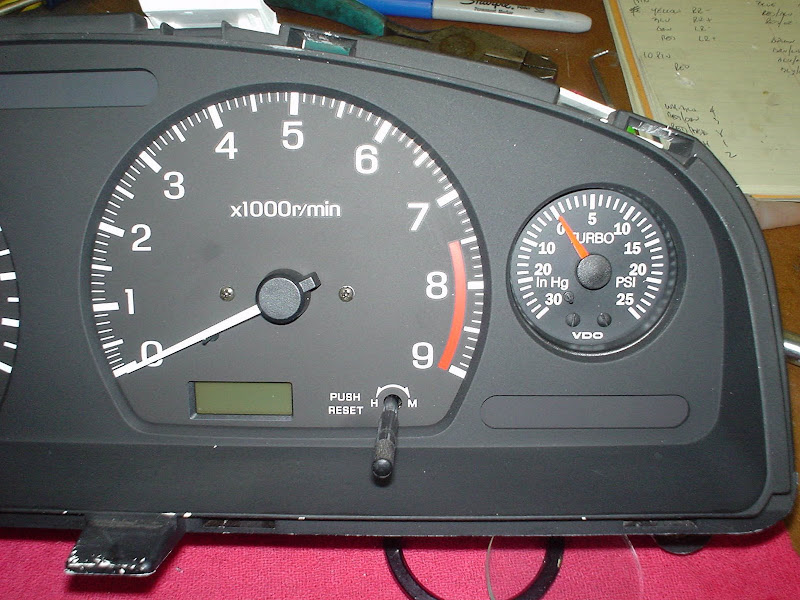
There was no point in keeping the stock gauge since its basically useless (IMO).
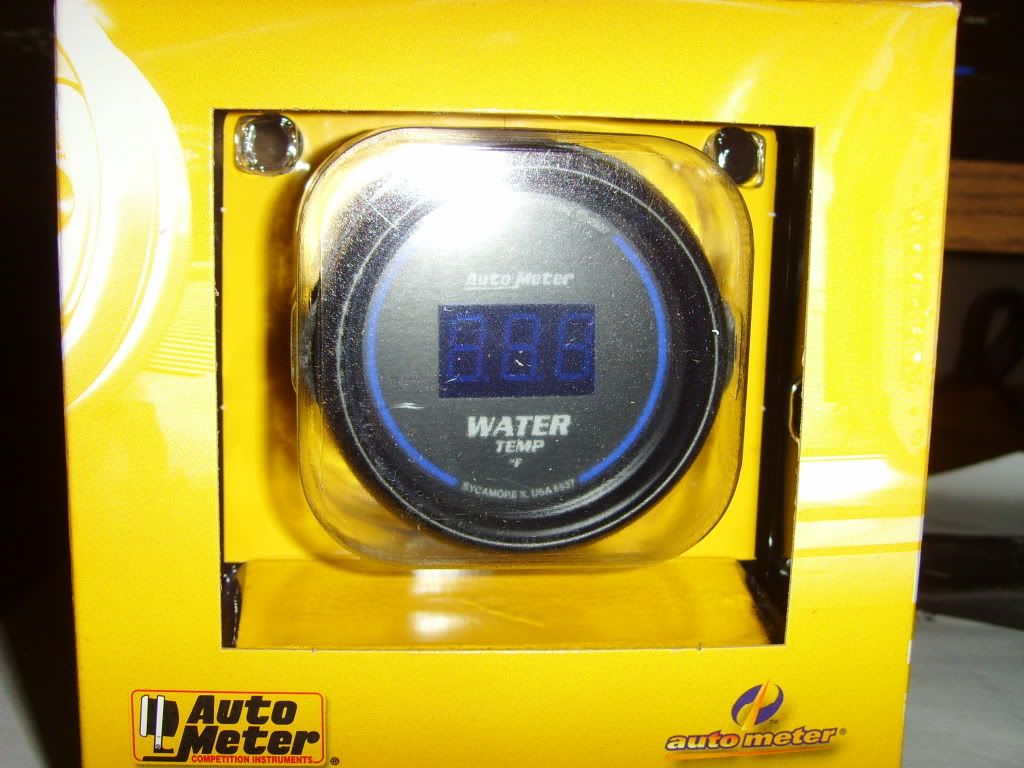
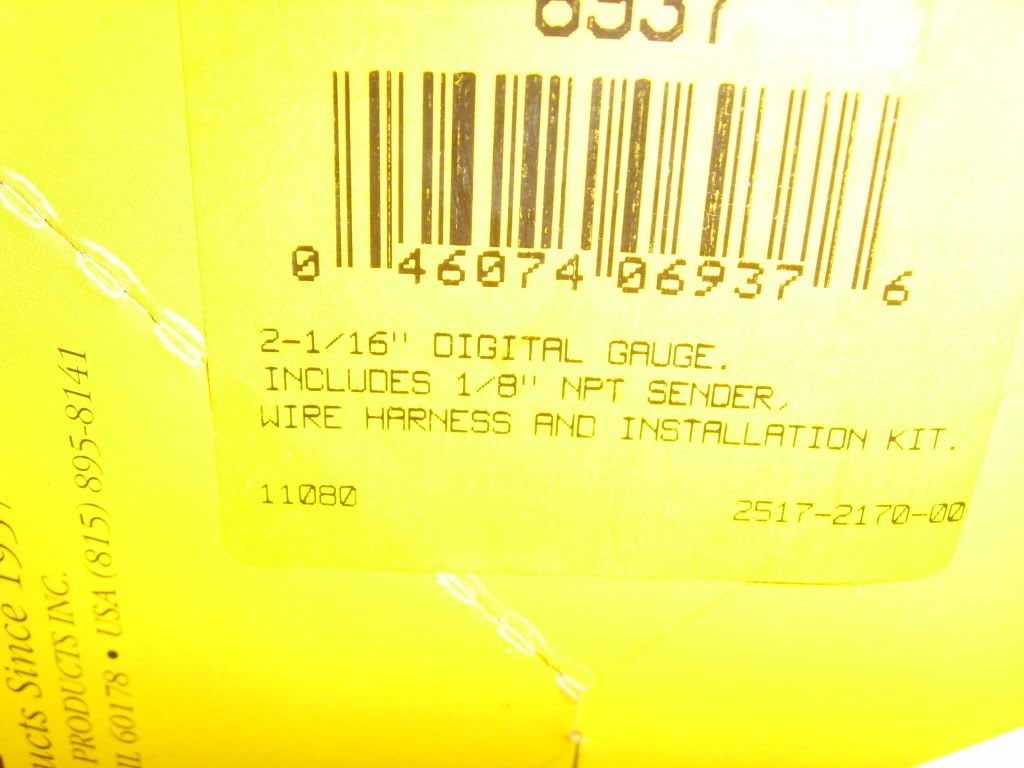
So I set out to find a gauge to replace it. I decided on an Autometer digital display.
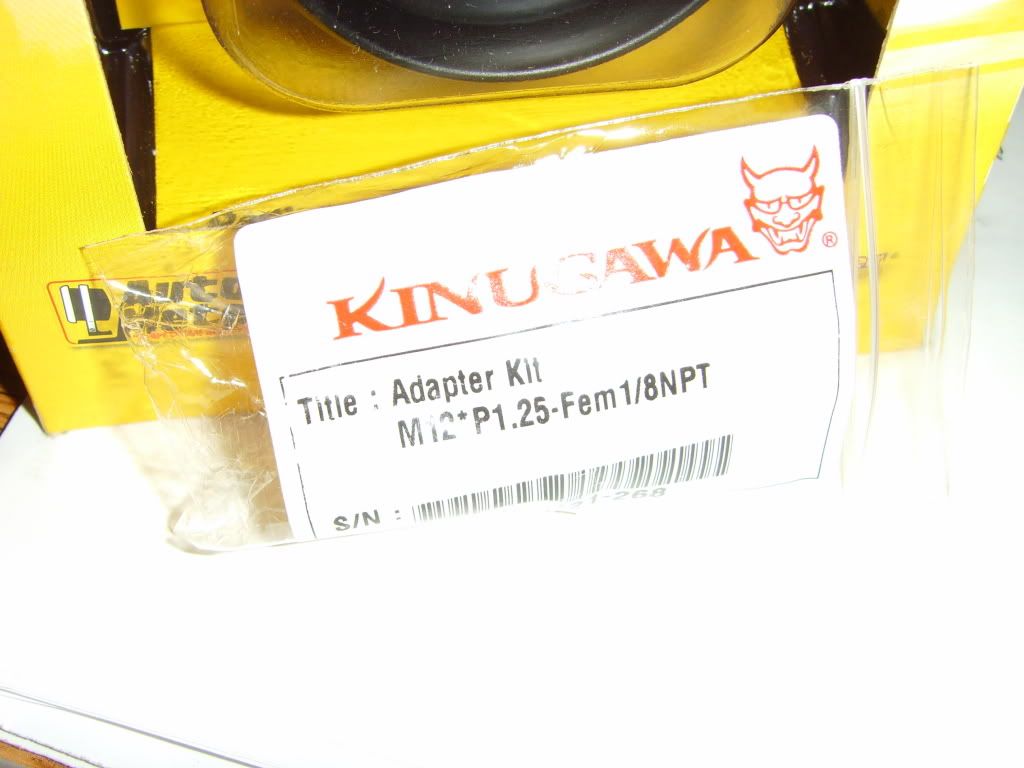
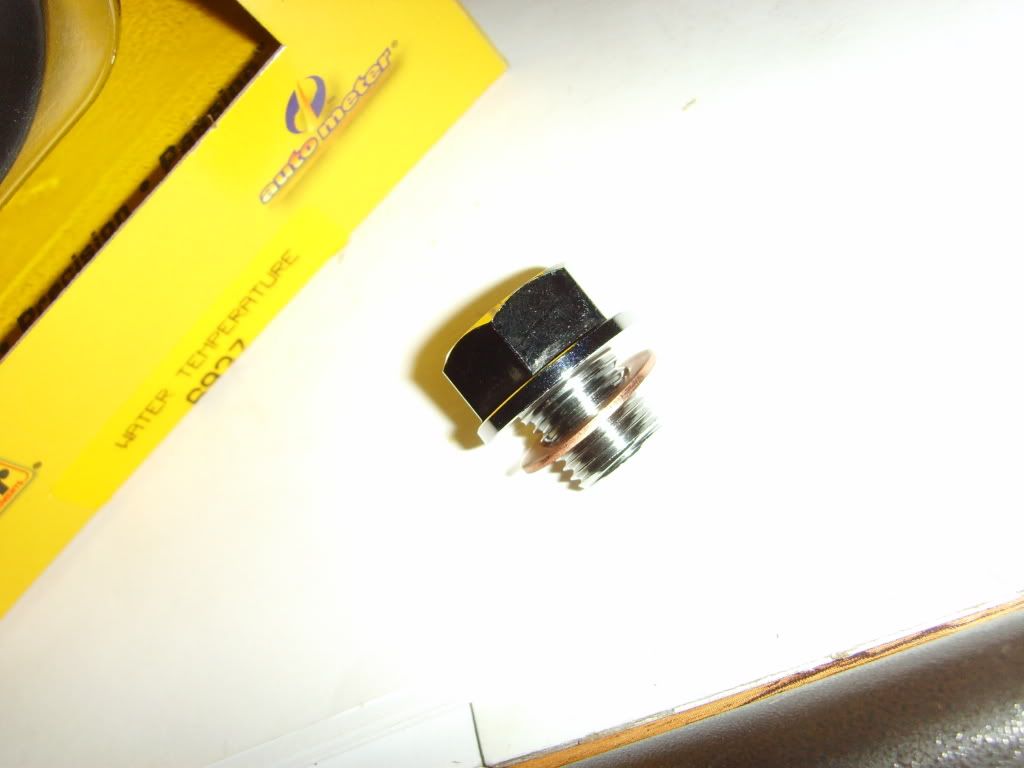
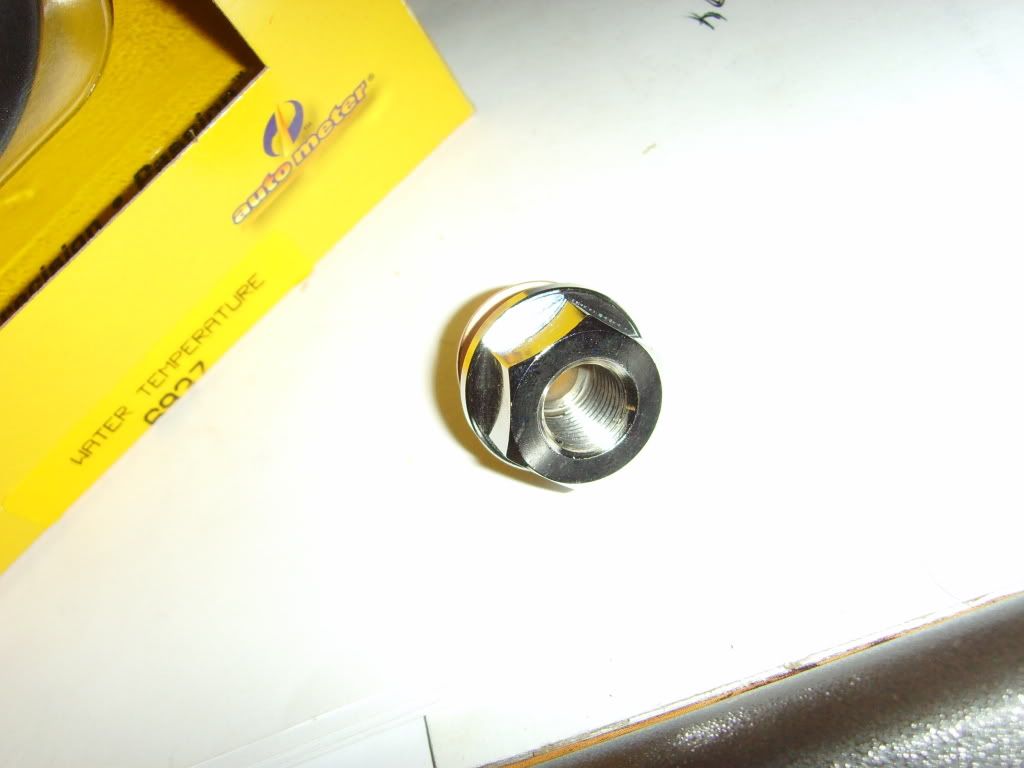
Since I was replacing the stock gauge and sensor I needed an adapter to put the aftermarket sensor in the stock location. I found this on ebay.
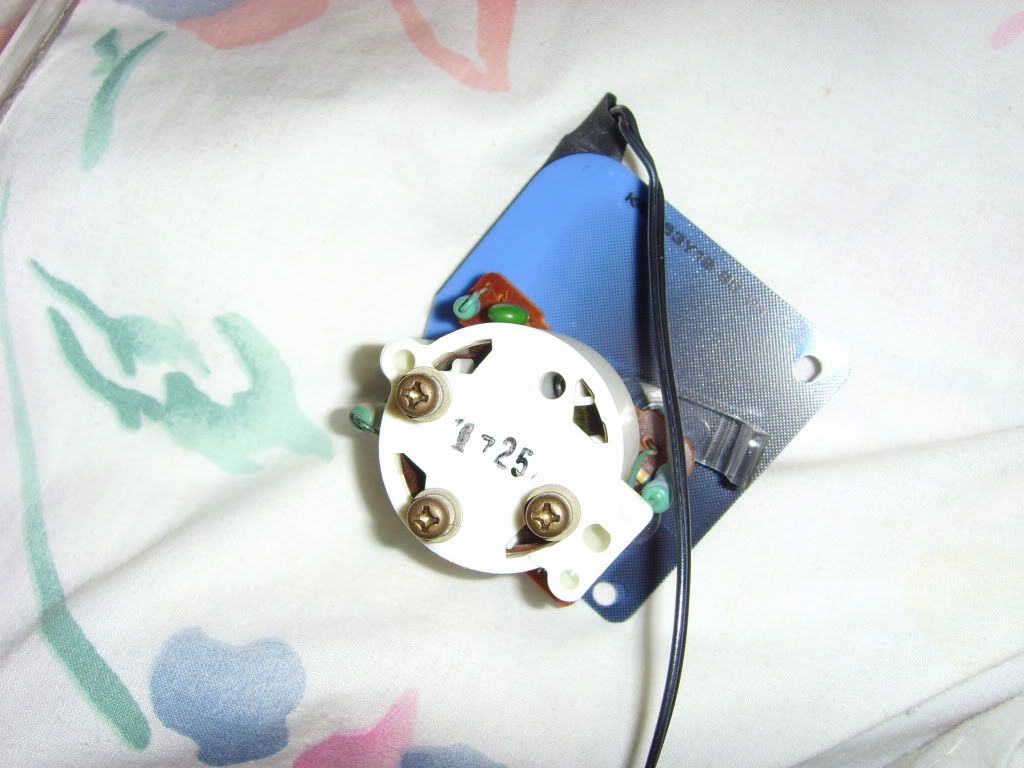
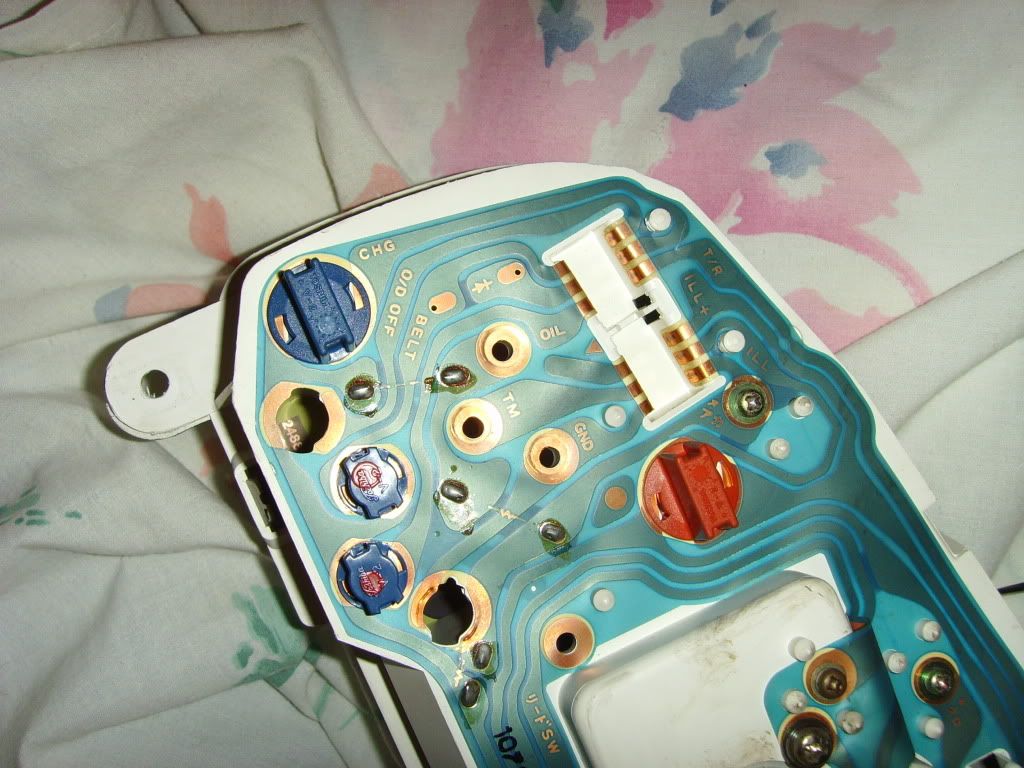
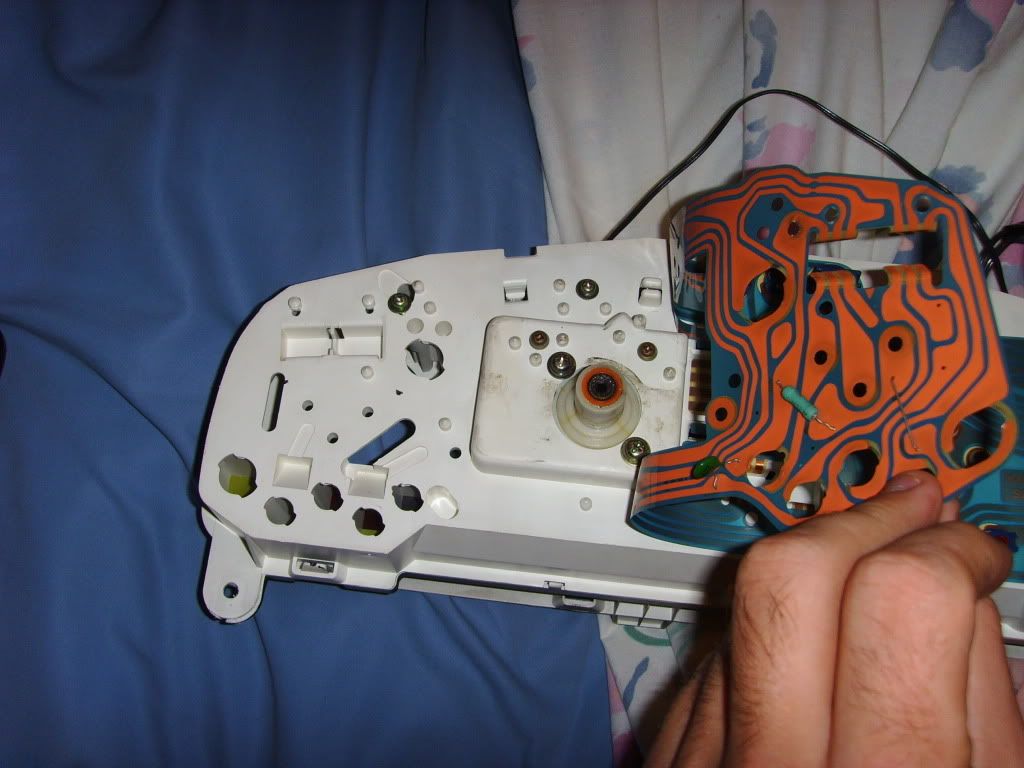
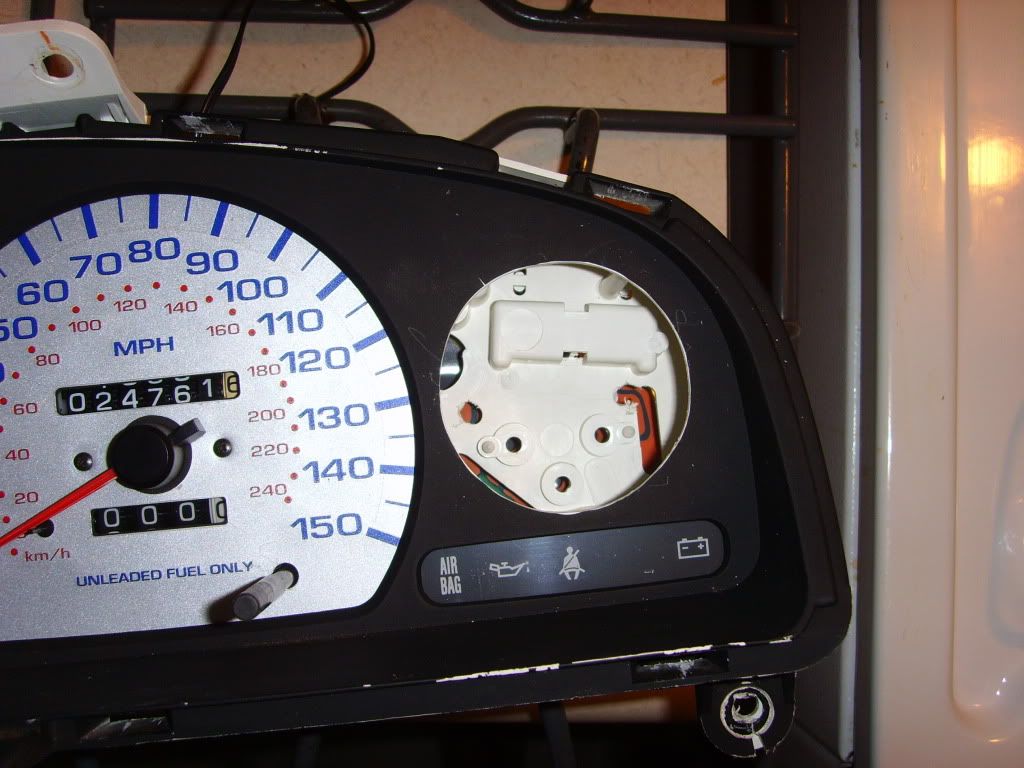
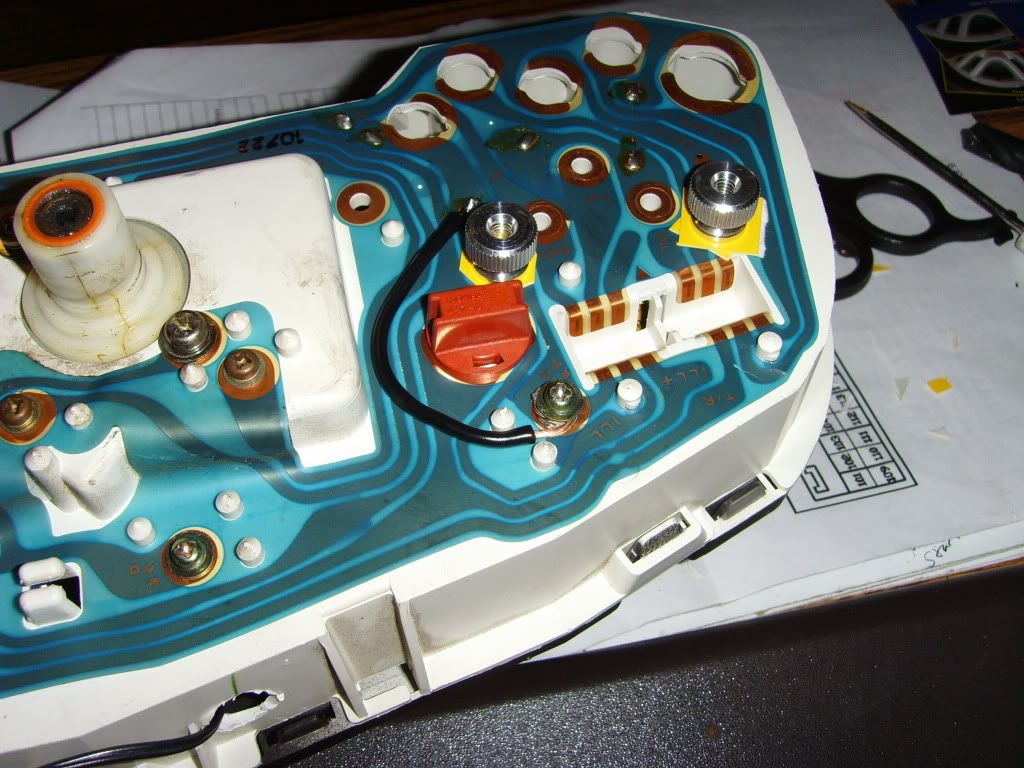
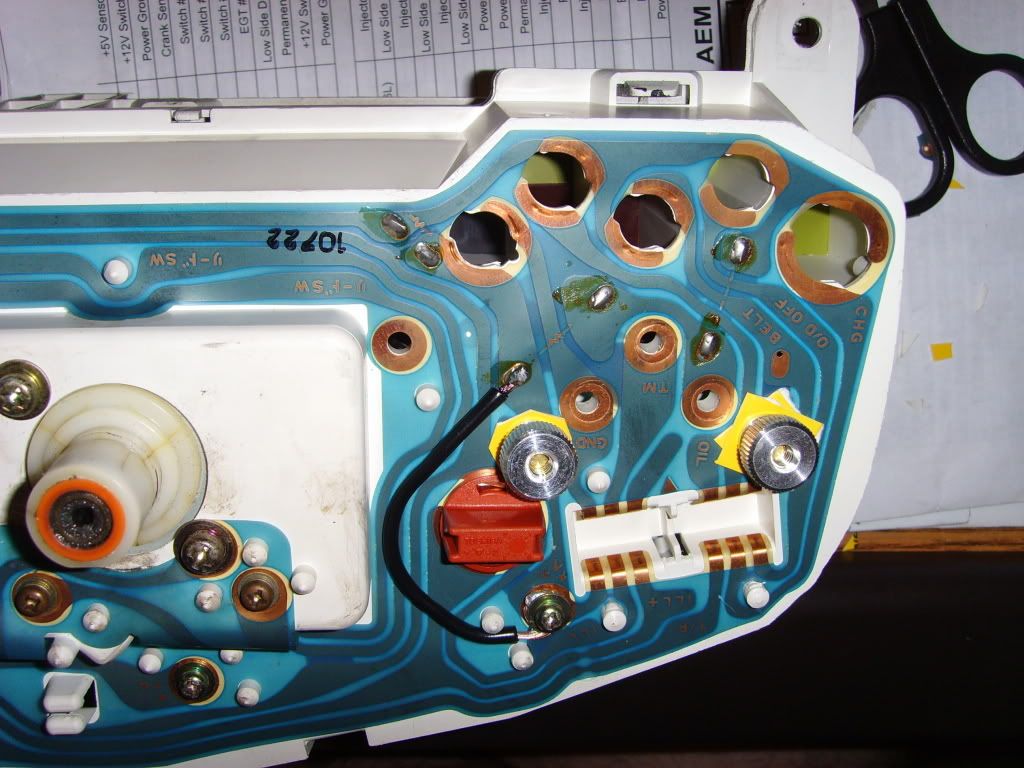
First you need to get your cluster out to remove the stock gauge. Just disassemble it and its just a few screws to get the oem gauge out.
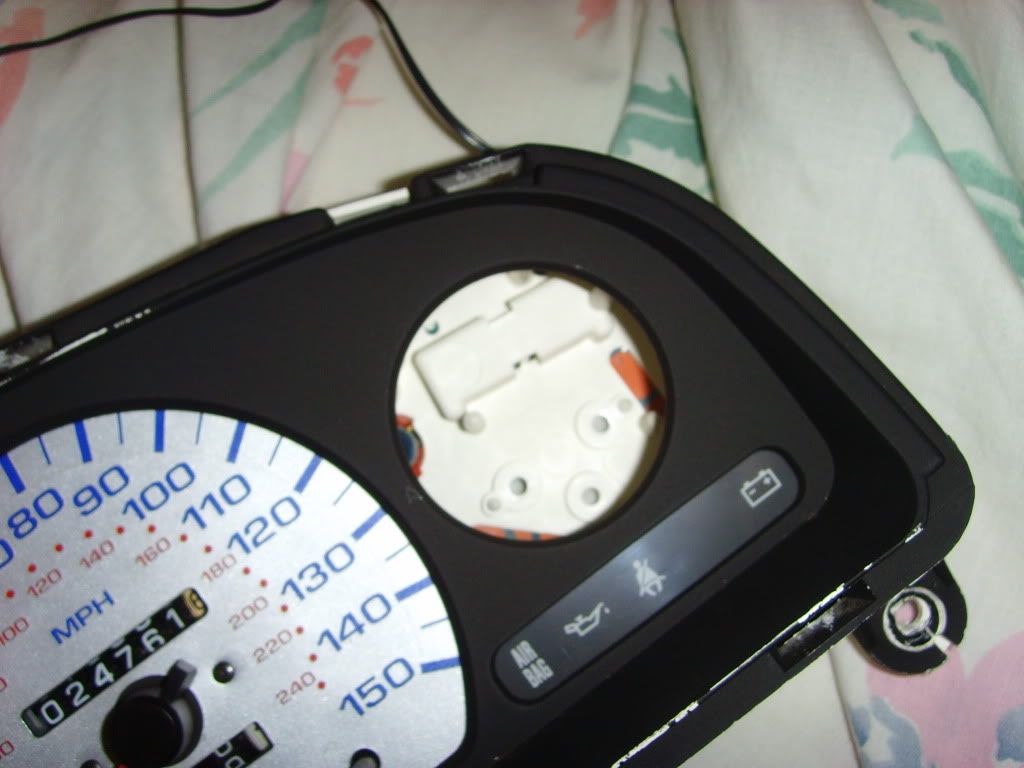
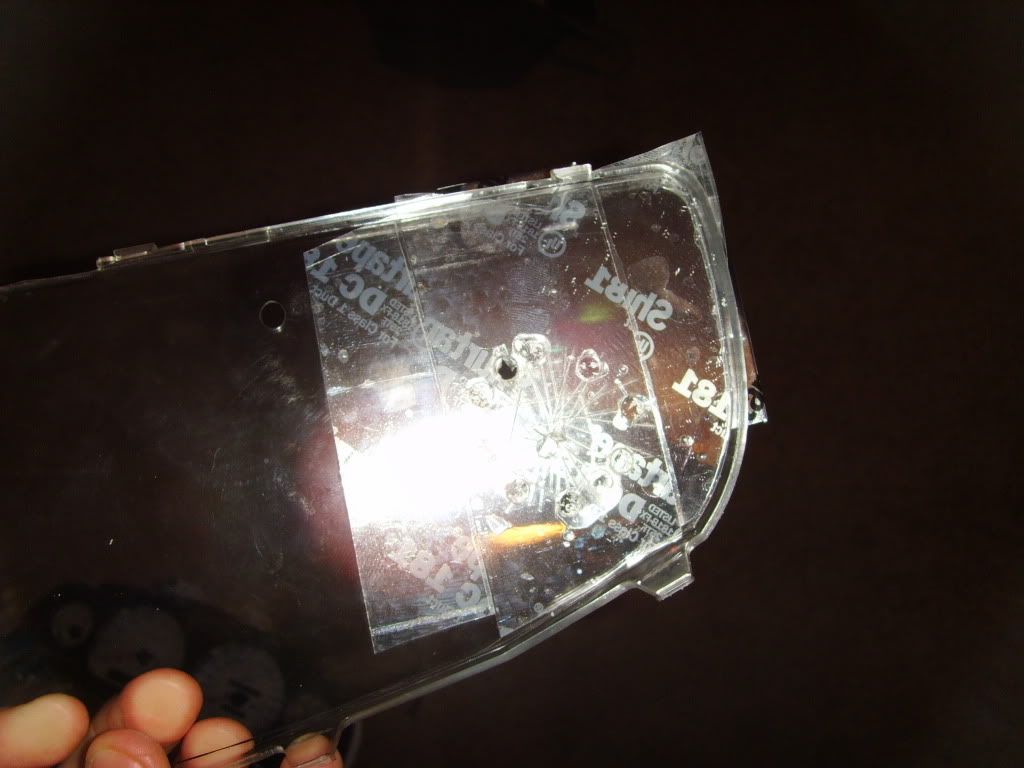
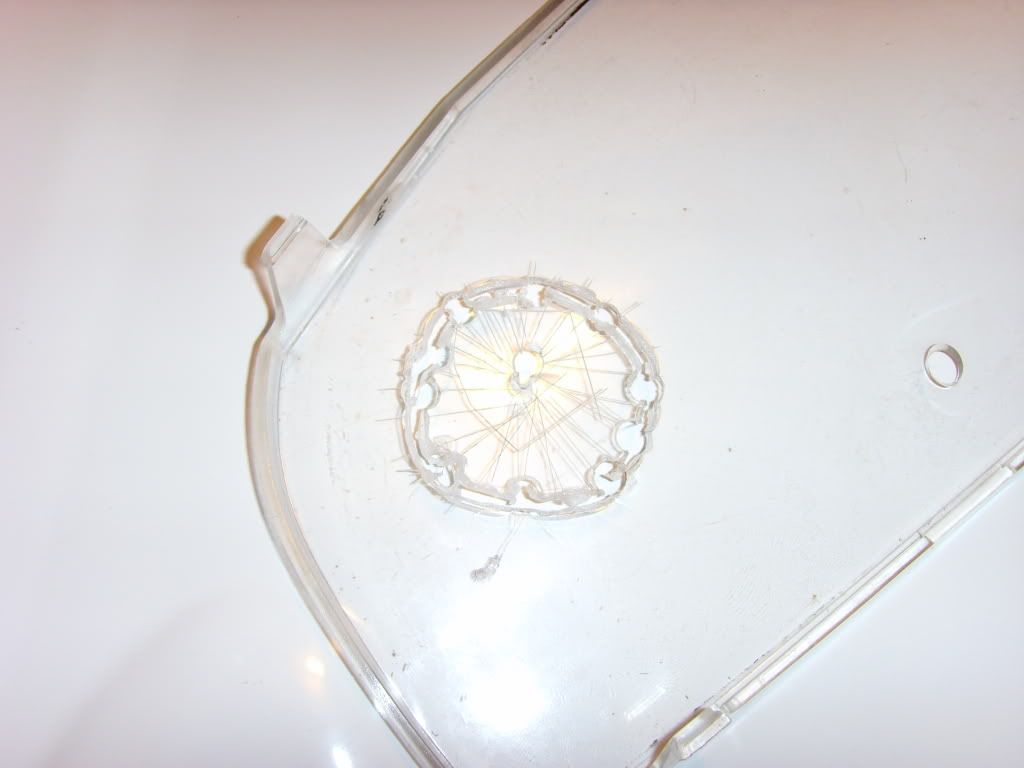
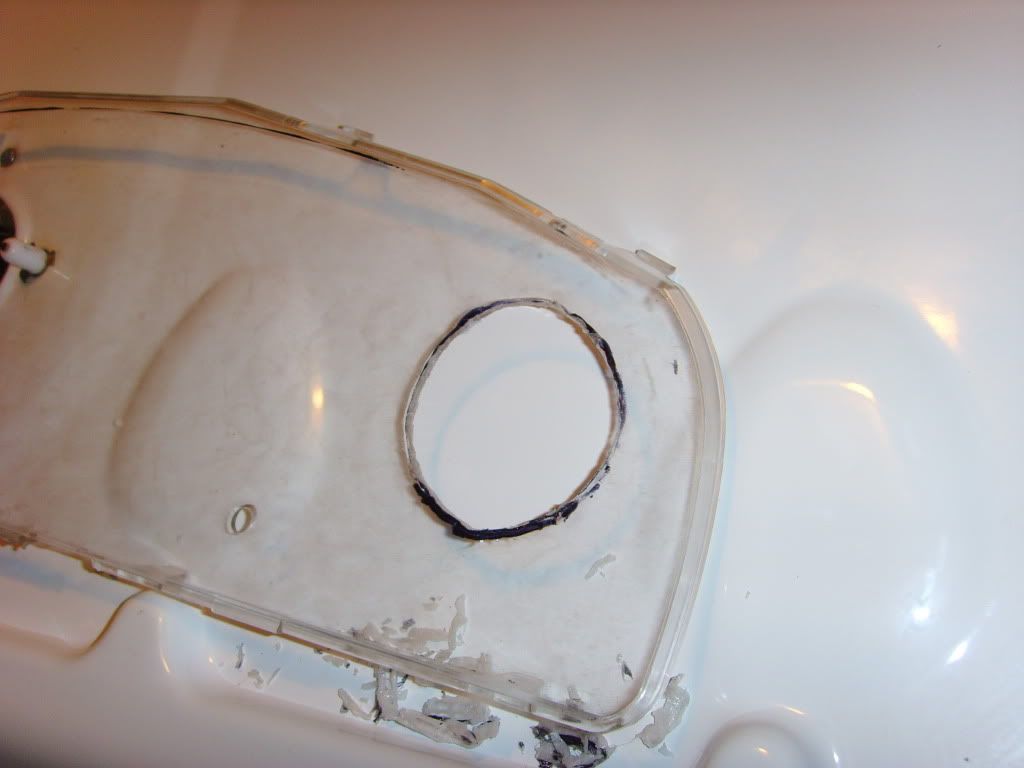
The AM gauge I got was too deep to mount it below the clear plastic cover (unless you decide to hack the gauge itself or stick the guage through the back of the cluster) I wanted to leave the circuit board on the back of the cluster intact. Which is why I cut the clear plastic.
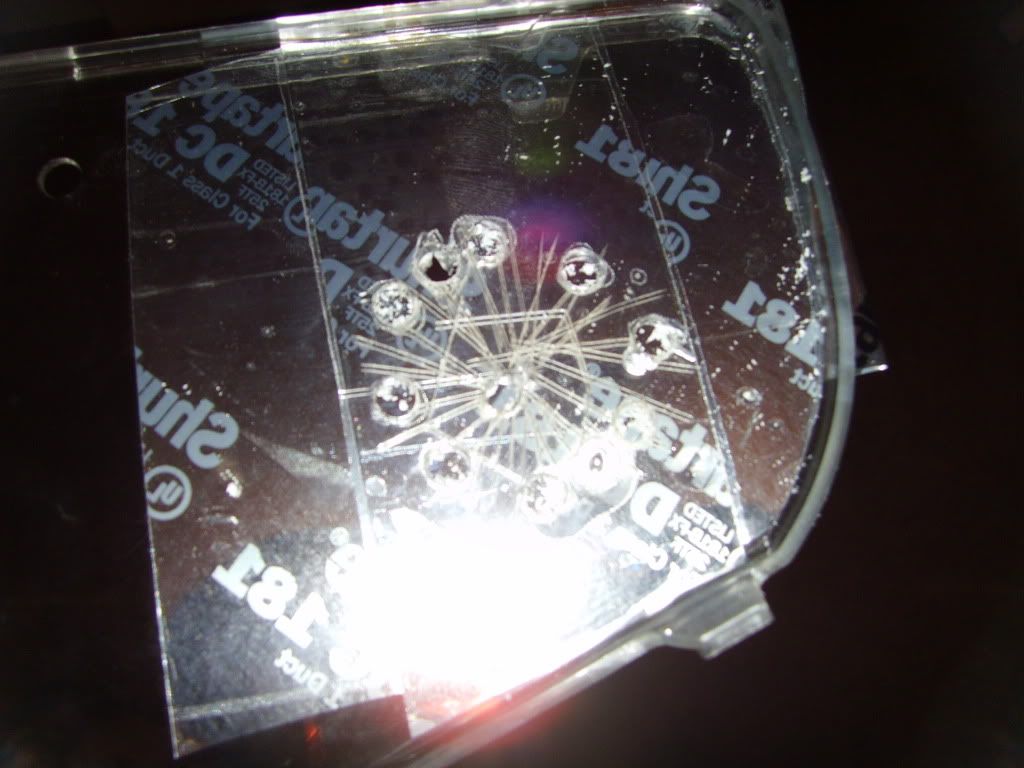
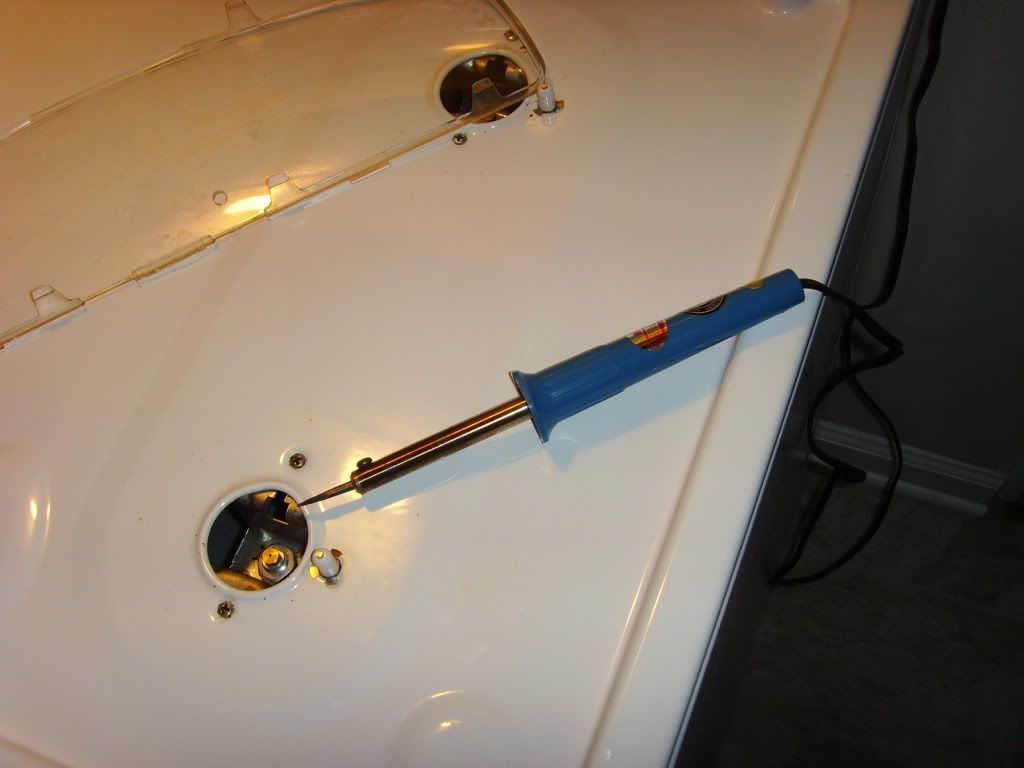
I found that drilling will crack the plastic... a hot knife is what you want. Just make sure you are cutting in the right spot. Since I did not have a "hot knife" I used one of my soldering irons.
This is the longest part of the process for me since I didnt want a hole too big.
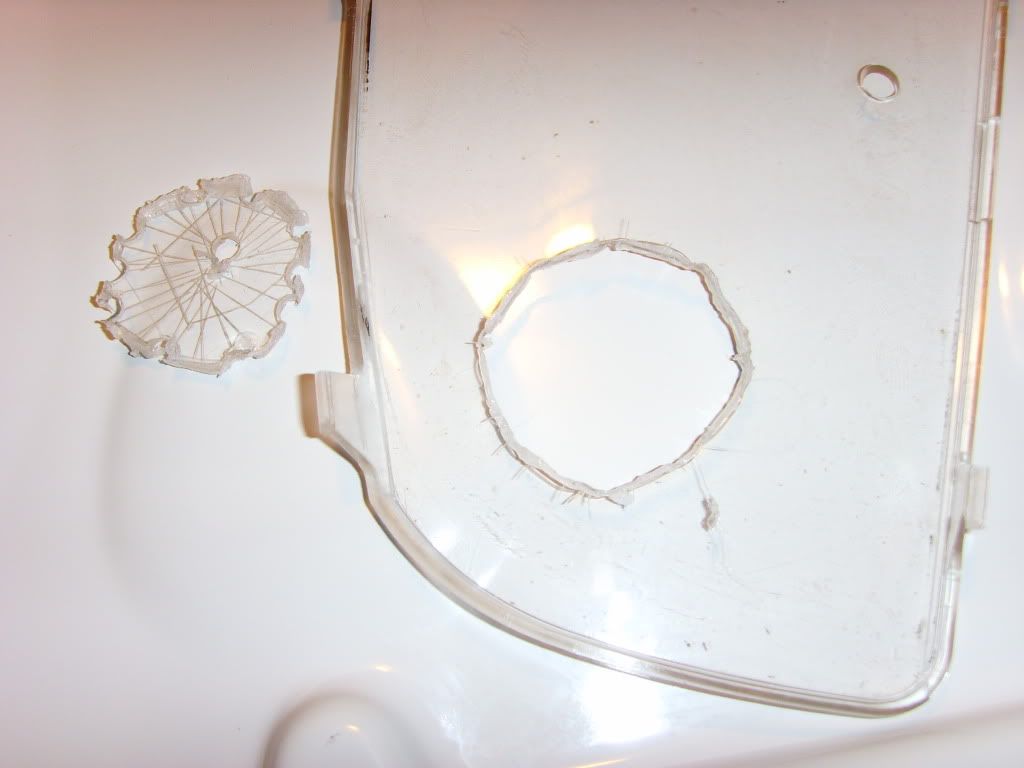
I also had to enlarge the hole for the gauge.
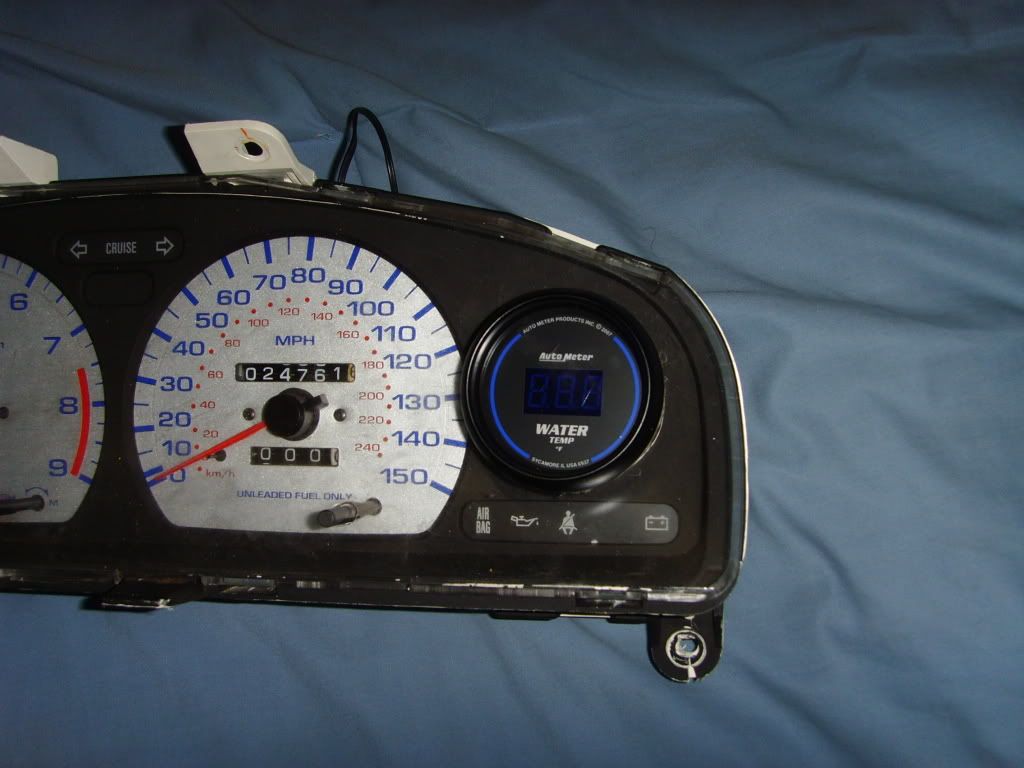
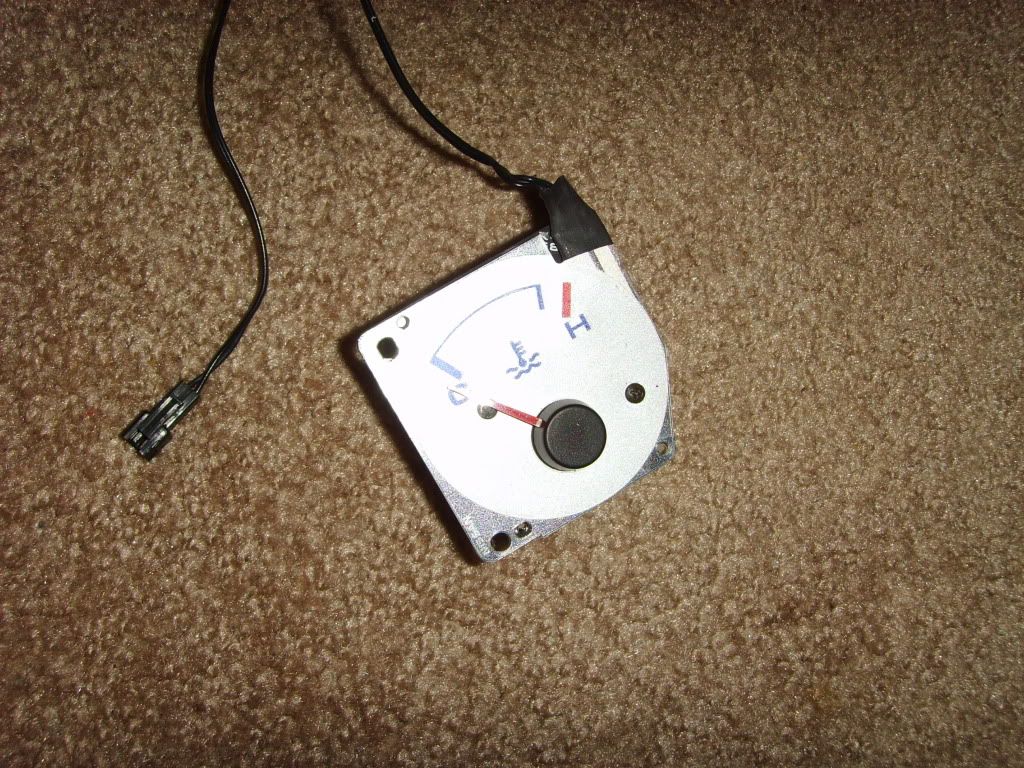
At this point I tested it to make sure it was working before I began to wire.
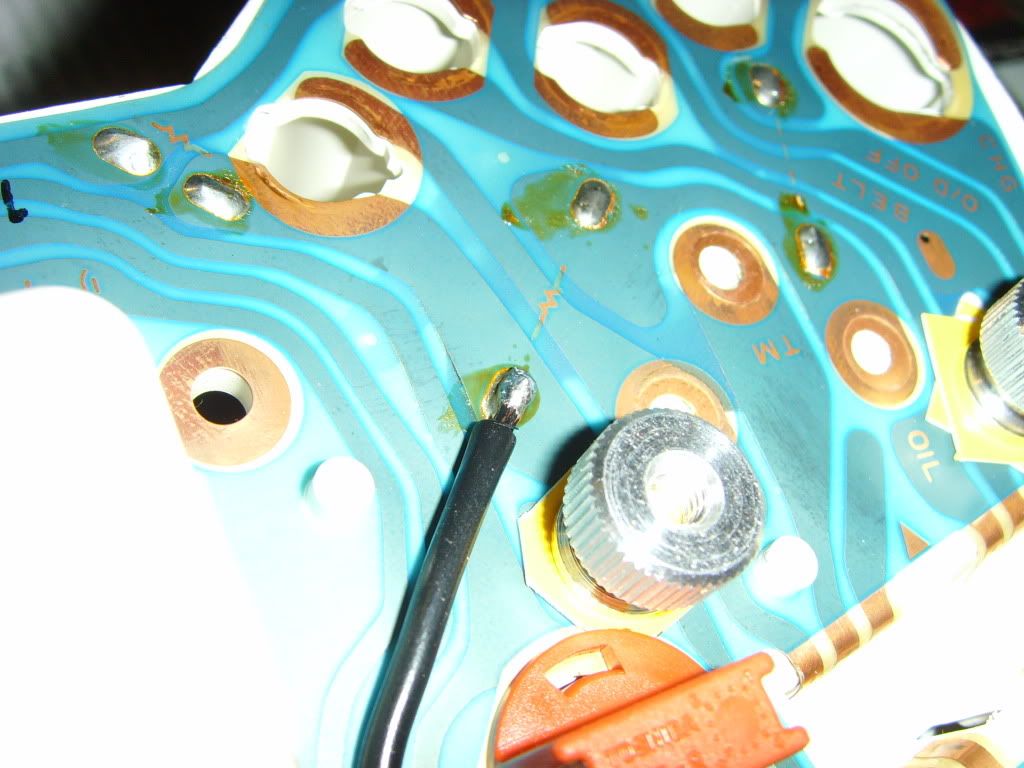
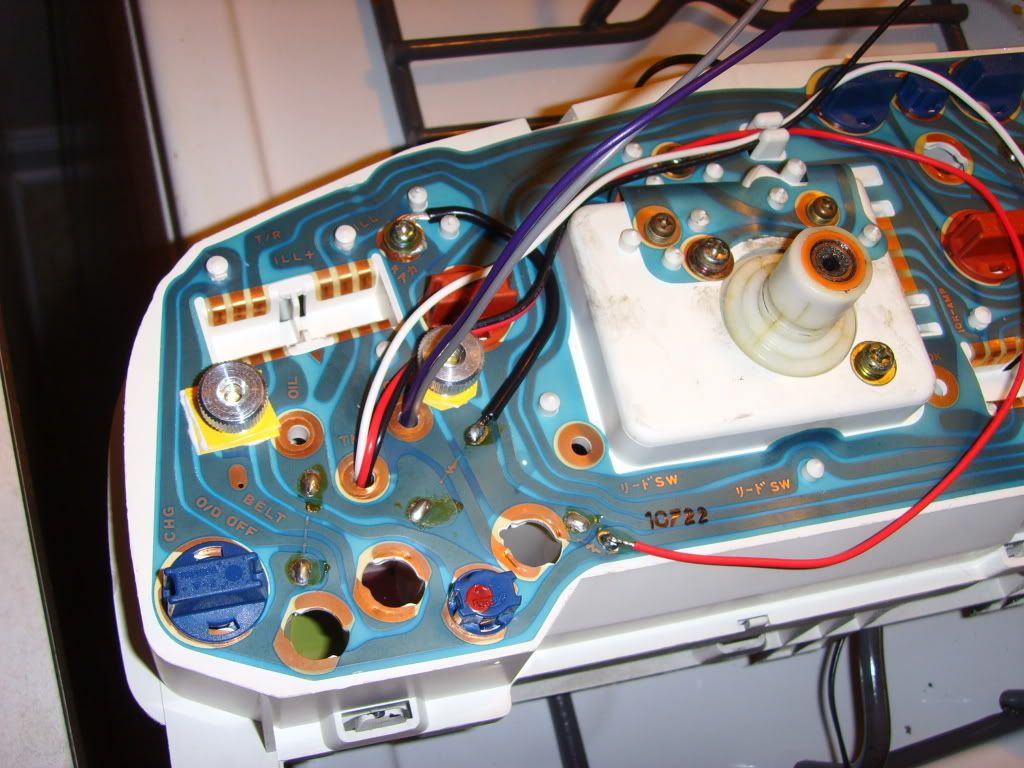
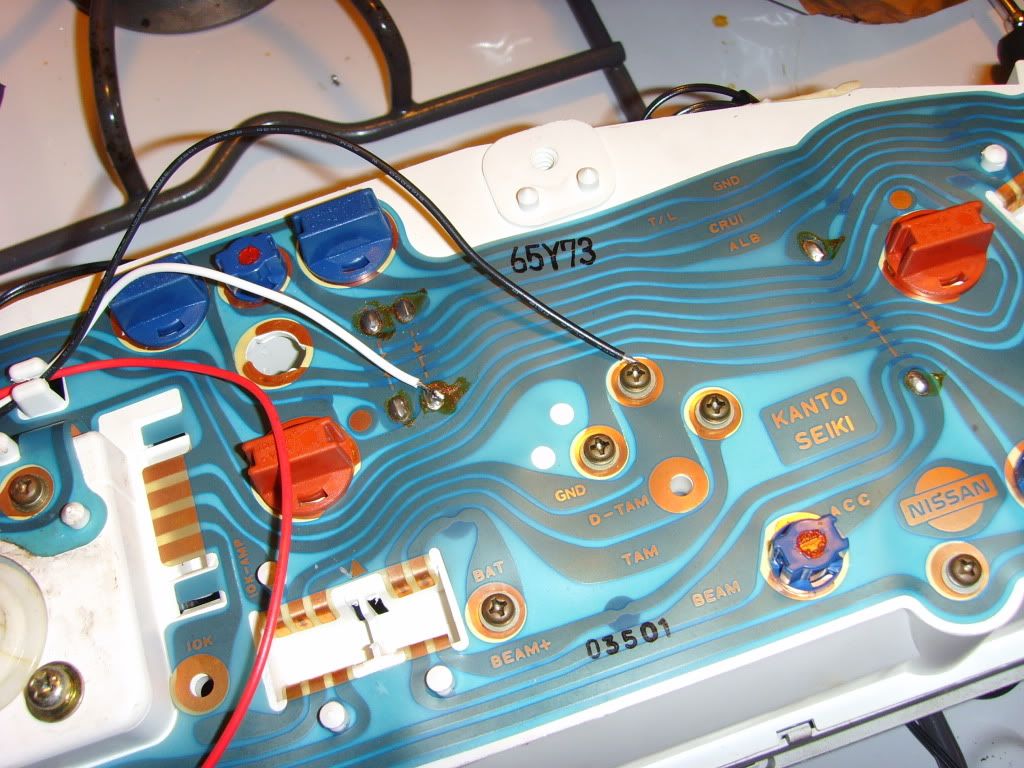
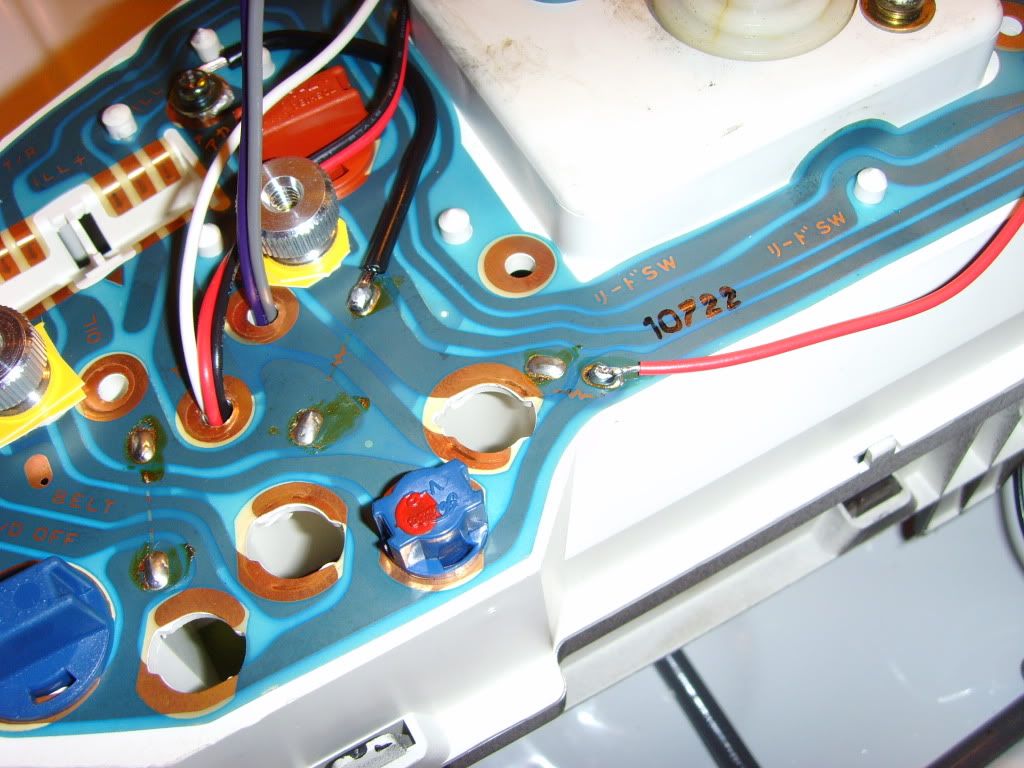
This is were I began to wire it up.
Having a multimeter handy would be useful.
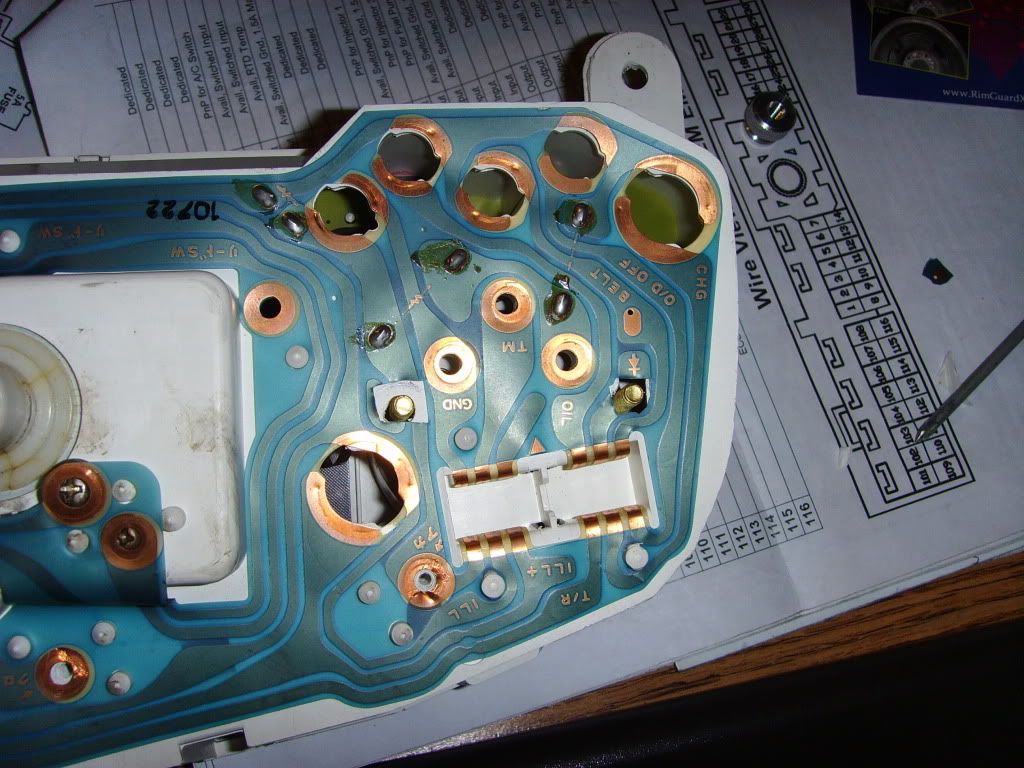
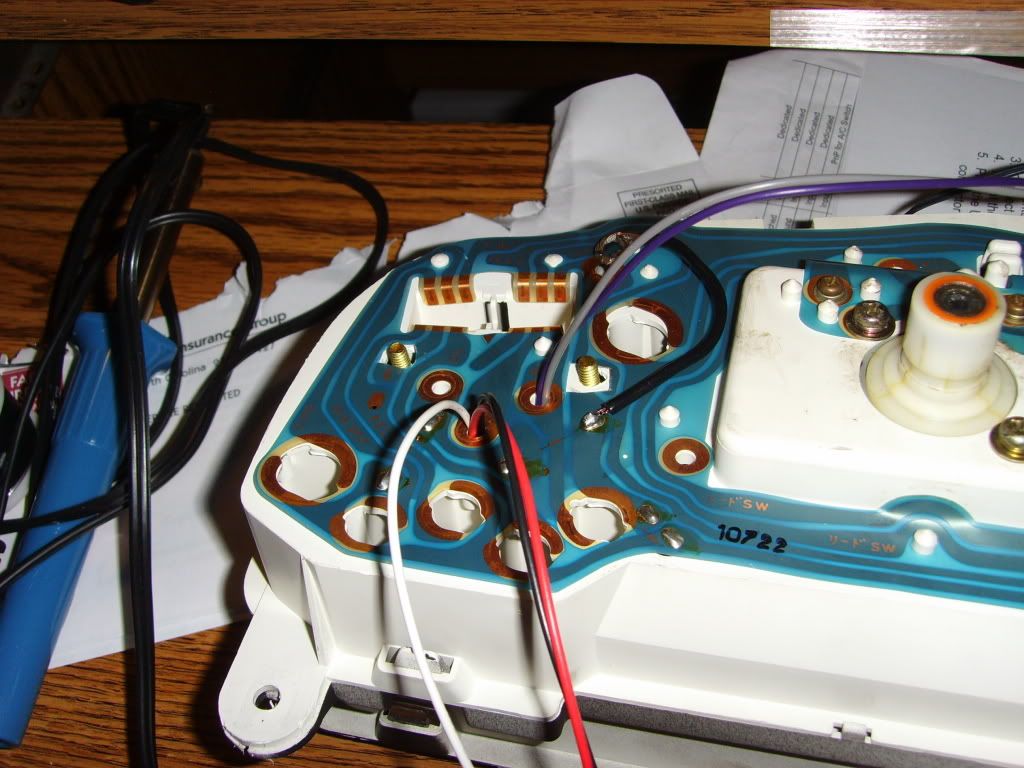
With that part done. I tested again with a 9V battery.
Then installed the sensor.
Run your wires to your sensor.
Install your cluster.
Enjoy.
[php][/php]
So I set out to find a gauge to replace it. I decided on an Autometer digital display.
Since I was replacing the stock gauge and sensor I needed an adapter to put the aftermarket sensor in the stock location. I found this on ebay.
First you need to get your cluster out to remove the stock gauge. Just disassemble it and its just a few screws to get the oem gauge out.
The AM gauge I got was too deep to mount it below the clear plastic cover (unless you decide to hack the gauge itself or stick the guage through the back of the cluster) I wanted to leave the circuit board on the back of the cluster intact. Which is why I cut the clear plastic.
I found that drilling will crack the plastic... a hot knife is what you want. Just make sure you are cutting in the right spot. Since I did not have a "hot knife" I used one of my soldering irons.
This is the longest part of the process for me since I didnt want a hole too big.
I also had to enlarge the hole for the gauge.
At this point I tested it to make sure it was working before I began to wire.
This is were I began to wire it up.
Having a multimeter handy would be useful.
With that part done. I tested again with a 9V battery.
Then installed the sensor.
Run your wires to your sensor.
Install your cluster.
Enjoy.
[php][/php]
Last edited by unijabnx2000
on 2012-07-09
at 20-14-49.
 Be the first to like this post.